You have probably seen the pictures people post, of the beautiful designs on 10 perfectly shaped nails in a little box and thought to yourself ” Hey, I could do that!” Then you start to wonder what kind of box that is. Who gave you those advice? On what method do they affix them to the box? How much money will I make doing this?
What Exactly Are Press-on Nails?
Press-on or glue-on artificial nails are exactly what their names imply—they are made of acrylic resin. Occasionally referred to as artificial nails. Because different manufacturers use various acrylic resins, the finished products have a slight variation. Knowing what they are will enable you to more fully appreciate the finished product and take note of the reasons why the subsequent steps are crucial.
How To Make Press On Nails
This is a super fun and easy way of getting perfect nails and you only need a few things:
- Full Cover Tips
- Nail Stand (you can purchase one for $7 on Amazon)
- Top & Base Coat
- Gel Polish of your choice
- Nail Decals (optional)
Step 1: Choose Your Nail Tip
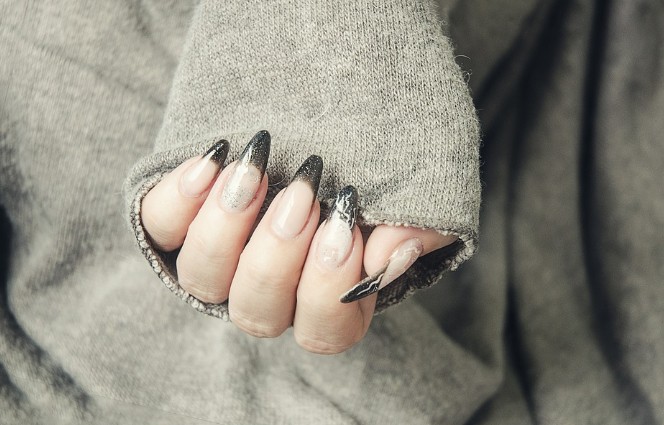
The new stiletto Nail Pump Ups from Makartt were used. Each pack contains 500 pieces, which is more than enough.
Step 2: Use Blue Tac Or Putty And Set On Top Of Nail Stand
I chose to use blue tac and set my nails on a nail stand rather than painting my nails directly on my natural nails or first gluing the nail tips onto my nails. The best part is that I don’t have a mess when painting my right hand because I can get a perfect paint job on the nail tips without getting any on my fingers or cuticles.
Step 3: Apply Base Coat, Color And Top Coat
I applied base coat and cured it for 15 seconds under my Mini Curator lamp using the base coat and top coat set from Awsmcolor by Makartt. After curing between each layer of my two gel polish colors, I added my top coat and let it dry completely. To ensure that it is fully cured before touching the nails, I typically cure each coat for about 15 seconds and the final top coat for about 30 seconds.
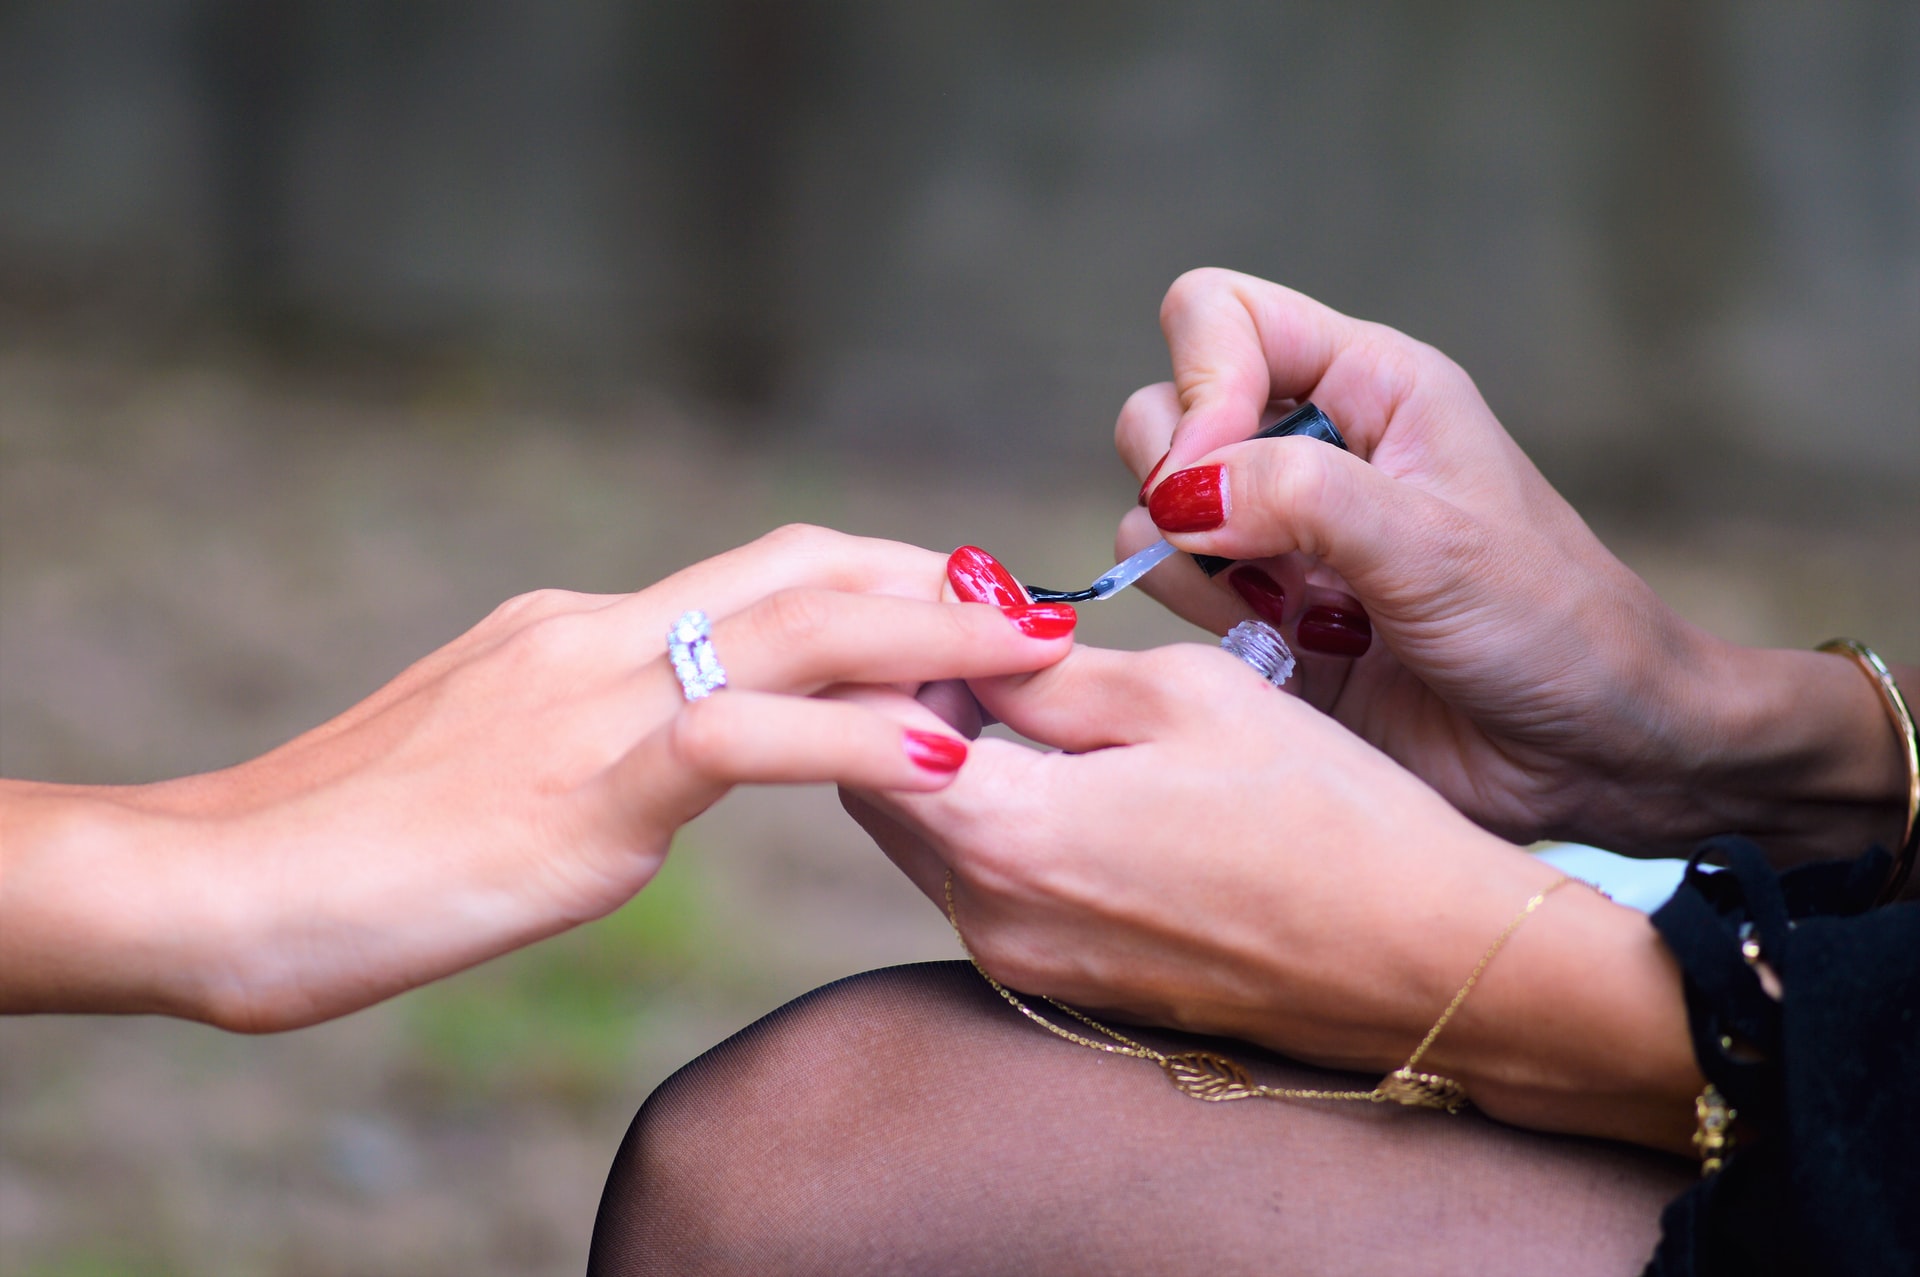
Step 4: Attach Them With Nail Glue!
Since I can cure all 5 nails at once, this method of painting my nails is quick and allows me to achieve the ideal paint finish. I adhered them to my natural nails using the glue that comes in the nail tips, holding them in place for roughly 5 seconds each.
The Best Press On Nails
Affordable, trendy, stylish, and simple to wear are all qualities of press-on nails. Decades have passed since the DIY movement began. They may enable you to spend less on nails. The majority of people who use press-on nails go months without visiting a nail salon. The right glam finish, though, will make you believe they spent a fortune on their nails. Strangely, it doesn’t take long to get the hang of the act!
Many people become worried about how long an application will last. Even though press-on nails are very inexpensive, you don’t want to look foolish if one of your nails falls off in front of others. A full set can last you up to two weeks, depending on your activity level and how quickly your natural nails grow.
How Should I Choose A Box?
A necklace box is commonly used, and there are MANY available for purchase online. You can purchase them with cotton, velvet, or no inserts. Whichever method you choose is entirely up to you. If you want a look that is more square, you can also use greeting card boxes. I advise you to research the options available in your area. Search on EBAY, ALI BABA, and possibly Amazon. You might want to buy some of these, as shown in the example below. The cheapest sellers I have found typically sell them for between 75 pence and a pound per item.
I searched for ” Necklace Boxes” on eBay: Simple enough, right? Okay, that’s possible, but even outside of this listing, there are a variety of colors, depths, and shapes. So all that is left to do is choose the options that will best suit your needs and acquire them.
However, boxes aren’t required. I’ve seen people affix nails to Kraft card stock envelopes, which lowers shipping costs. Please visit my Facebook Group Custom Tip Creators – Support and Advice if you’re interested in learning more about packaging.
What Can I Use To Embellish The Tips Of These Nails?
To decorate them, you can use anything you like. I’ve painted them using acrylic, hard gel, gel polish, and regular old-fashioned nail polish. But keep in mind that when you do them in regular polish, they are the most flexible (and thus give the best fit). That is not to say that applying them with gel polish is ineffective. I simply discovered that they weren’t as willing to take on the shape of a natural nail as easily once the gel polish had dried and become much stronger and harder. To determine which of your products will yield the best results, you will need to conduct some testing. I advise you to create a few sets and ask a few of your girlfriends to test them out.

Are There Any Advantages To Press-on Nails?
Press-on nails have many advantages over acrylic nails, which is one of the reasons they are gaining popularity.
- They have extremely low prices. The price for a set can range from somewhere around $9 at the drugstore to about $30 depending on the manufacturer
- Once you’ve mastered the art, it only takes a few minutes to prepare your natural nails and apply the artificial nails because there is no dry time
- Removal is easier with press-ons versus acrylics, also less damaging to your nail beds
- From matte to shimmer to ombre to chrome nails, the combination of low cost and variety makes it easier for you to flaunt multiple nail designs within a short period
- They are reusable
Customers Will Adhere Them To Their Nails In What Way?
People who purchase these exquisite works of art are unlikely to keep them in a box and only display them on special occasions. In fact, I spend a lot of mine doing just that, but in case you hadn’t figured it out by now, I am anything but typical. Thus, you have a few choices available.
You can either supply the adhesive or leave them to fend for themselves while you go buy some glue. There are more options if you choose to supply the adhesive for them. Do you send adhesive tabs or glue? This is entirely up to you whether you send both. While they both function, their goals are different. If you send glue, the customer will only use them once; they could last for up to two weeks. If you send sticky tabs, they might use them for a few days, but they can wash the sticky bits off the nails and use them again. assuming they didn’t completely ruin them on Friday night’s night out with Susan. Offering your customers all available options and letting them choose what they want to purchase is what I advise.
Can I Actually Make Money Doing This?
You can indeed earn money by doing this. But it’s entirely up to you how much money you make. I am unable to create your website or business plan for you. Not for free, anyway, even though I do receive daily messages from nail technicians asking for my advice. Like a mug, I give them all the information they require, and they go on to become wealthy and well-known. Although nobody has yet achieved fame and wealth, I will regret it when it does happen. I’m kidding, of course, but I mean it. LOL
You’ll need to start doing some research right away. I advise you to browse various sellers’ websites and Ebay stores. There are thousands of them. You’ll find a ton of inspiration here, including size charts, descriptions, terms and conditions, extras like mini nail files, and instruction booklets. Some vendors sell 10 nails, while others sell 20. Some businesses require customers to measure their own nails, while others describe set sizes and packages. Those who have accomplished this successfully before you will teach you a lot. AVOID outright stealing someone else’s ideas or images. Based on what is working for them, use your creativity to come up with a solution that works for you. You can get a general idea of what all the sellers have in common and what might make you stand out from the competition by studying enough examples. Take a look at these videos that I kindly made if you’ve done that but still can’t understand it or if you’re just not capable of doing what is being asked of you.
What Is The Lifespan Of Press-on Nails?
Sometimes the most impactful actions are the most straightforward. Here’s how to extend the lifespan of press-on nails to two weeks!
- Use rubbing alcohol to make sure there is no remaining natural oil on your nails before applying your falsies. The smallest amount of natural oil or residual polish will decrease the integrity of the glue
- For at least two hours after the application, avoid coming in contact with water. We advise scheduling your manicure for the evening, right before bed.
- Your glue’s quality is important. There may be glue in your press-on nail kit, but it’s always a good idea to have a backup on hand, especially if it’s a brand you know and trust. Make sure you carry a bottle of glue wherever you go in case any of the press ons decide to pop off
- It always helps to rub cuticle oil into your fingers. It helps to improve the health of your nails
- A top coat will help your natural nail and your false nail adhere more effectively while also giving your nails a shiny, polished finish. Topcoats tend to harden the nail surfaces which makes them more durable
- Instead of longer press-on nails, choose shorter ones. The majority of products on the market are, regrettably, lengthy. However, you can always cut them down to your desired length using a nail cutter
- Swimming should be avoided because fake nails have been shown to become brittle and lose their color when exposed to chlorine. Applying a top coat before swimming, as an additional line of defense, is one way to help combat that. That gorgeous nail art needs to be safeguarded, so we must be careful.
Conclusion
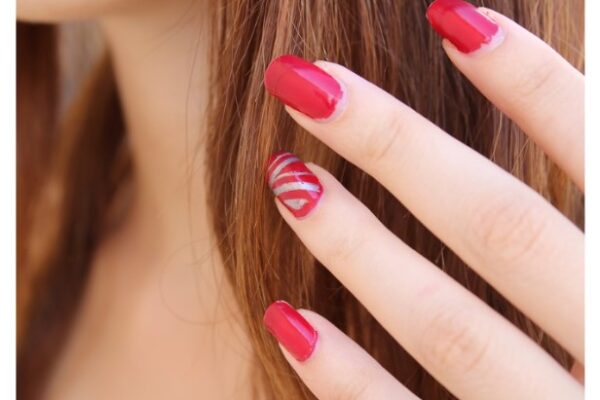
Press-on nails are the answer if you always manage to smudge your nails when giving yourself a DIY manicure. Without fully committing and without waiting for your nails to dry, you can easily try the trendy coffin shape with these matte red nails.


